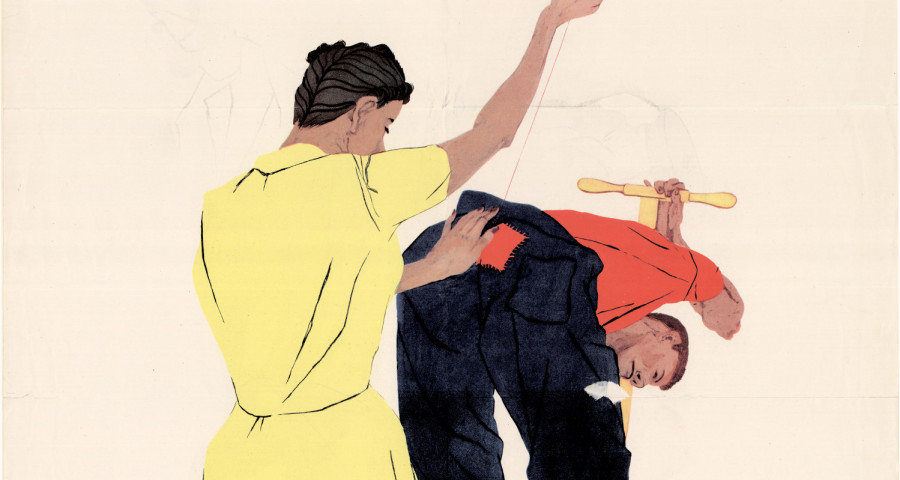
Mending is definitely an art and not a science. Just grab a needle and have a go!
Patches are a great way to mend anything cloth or cloth-like. Allow me to encourage you to give it a try next time you get a hole in something. In my time I have patched every type of clothes, shoes, sofas, tents, curtains, bags, umbrellas—you name it. All you need is a needle and thread and some patch material.
No experience required
Mending is definitely an art and not a science. Just grab a needle and have a go! Every attempt will make you better, and there is no ‘right’ way to do it. The stitches you use matter far less than the fact you are doing them, and the neatness has little bearing on the functionality of the patch. Using a sewing machine is also fine, but repairs are often in awkward areas that will be easier to hand-stitch.
If you lack confidence (even after you have read this handy how-to), ask a crafty friend or relative for help, or Uncle YouTube. The internet is also a great place to find inspiration for creative patches: try searching for pictures of ‘visible mending’.
Prepare for surgery
Like a trauma doctor with a new patient, stabilise that damage before you mend it. If moths are the culprit, make sure they are gone with no eggs or larvae left to do further damage. Large ratty holes can be neatened up by giving them a little trim with scissors. Sometimes sewing around a hole can help keep it from getting any larger, especially if you are getting ladders in a knit.
Materials for patches
The best patches are of similar or slightly lighter-weight fabric than the damaged item, and match in construction (knit or woven) and fibre content as well. But it’s okay to be creative! The classic leather elbow patches don’t follow those guidelines and work fine. If you go through a succession of similar garments, you can keep an old one as a donor for patches on its successors. It is also fun to cut a motif out of a patterned fabric for a statement patch.

Thread
I like cotton sewing thread for patching everything except 100% synthetic fabrics. Polyester thread is a bit too strong for natural fibres and can tear another hole more easily. Take your patch material to your local fabric shop with the big rainbow rack of thread and choose the closest colour, going darker if you can’t get an exact match. Choose thicker thread you can buy if you’re mending heavier articles like shoes, upholstery, or leather.
Time to operate
Once your patient is prepped, decide on the size and shape of your patch. It can be any shape you like. Square might seem obvious, but rounder corners will be gentler on worn-out fabric. Make sure your patch is big enough to cover all the damage and reach into not-too-worn fabric. Err on the side of bigger if you are unsure.
If your patch is made of woven material, fold the edges under 0.5-1 cm before sewing it on. Make sure to allow for this when you size the patch. You can press the folds with an iron to help them stay or even stitch them in place. Leather and tight knits like jersey fabric won’t fray so you don’t need to turn them under.
Stitch!
Pin the patch in place if you feel like it needs it, then stitch that thing down! The only rule is to sew around the edge of the patch. You can use any stitch with either a handsewing needle or a sewing machine, depending on how you want the patch to look. If you are new to sewing, don’t stress! It doesn’t have to be pretty. A basic running stitch will work just as well as anything your great-great-grandmother might have done. Keep your stitches small and firm and make sure to secure the ends of the thread.

Strengthening
You’re done! Seriously, the patch is on. In many cases that is all you will need to do. But if you want to go a little farther you can strengthen the repair for better results. A common approach is to turn the cloth over and sew down the inside (hole) edge as well. On woven fabrics you can really strengthen the patch by darning over it. Darning in this context just means sewing a bunch of lines over the top. Straight, curvy, it doesn’t matter much. An X is simplest, but I also like spirals and rows of vertical and horizontal lines. You can either sew only on top of the patch or extend the lines into the fabric around it as well.
This is a great time to let your creativity shine. Why not use a contrasting colour for the darning? A little basic embroidery can decorate a contrast patch or make it into a flower or other design. Have fun!
I hope this quick guide has encouraged you to take up a needle. If you need more reasons to get mending, I set out a ‘Mendifesto’ in MM April 2021 and gave some advice on getting through the mending basket in MM April 2023.
Phoebe Garrett is a maker, artist, weaver, and experimenter in historical textile craft techniques for a greener future.

